How to set up and configure a Goldshell E-AL1M miner?
How to Set Up and Configure a Goldshell E-AL1M Miner?
Cryptocurrency mining continues to evolve, with new hardware solutions constantly pushing the boundaries of efficiency and performance. Among these innovations, the Goldshell E-AL1M stands out as a specialized miner designed specifically for the ALPH cryptocurrency using the Blake3 algorithm. Whether you’re a seasoned mining operator or a newcomer looking to enter the ALPH mining space, setting up and configuring the E-AL1M correctly is crucial to maximizing its potential. In this guide, we’ll walk you through the process step-by-step, highlighting the product’s advantages and how they translate into real-world operational benefits.
Product Introduction: The Goldshell E-AL1M Miner
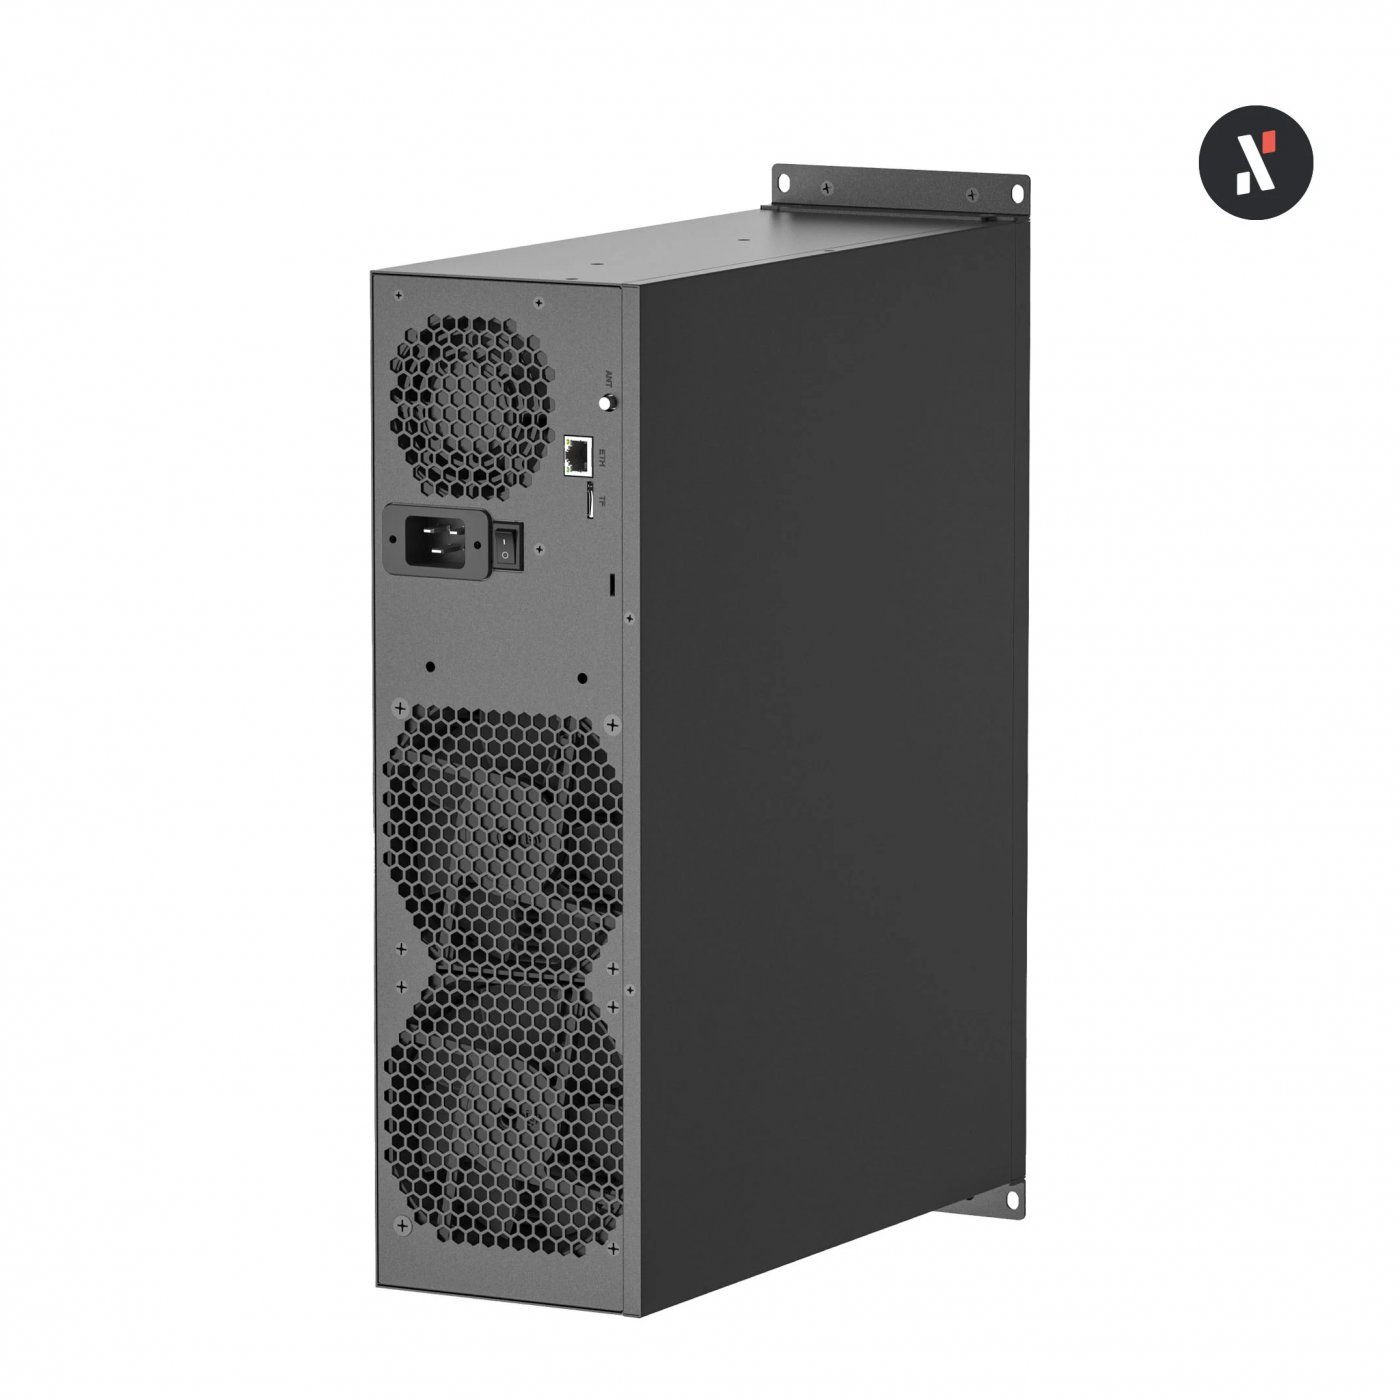
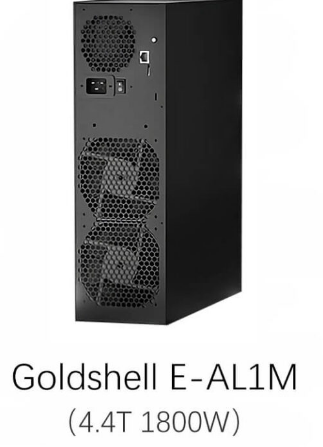
The Goldshell E-AL1M is a professional-grade mining rig engineered for efficiency, stability, and ease of use. Built with the latest advancements in cryptocurrency mining technology, this miner is optimized for the Blake3 algorithm, which powers the ALPH cryptocurrency. Its compact design, integrated power supply, and advanced thermal management make it a versatile choice for both small-scale and large-scale mining operations.
Key specifications of the E-AL1M include:
- Hashrate: 4.4 TH/s (±5%) in default mode, with a low-power mode available for enhanced efficiency.
- Power Efficiency: 409 J/GH in default mode, and as low as 367 J/GH in low-power mode.
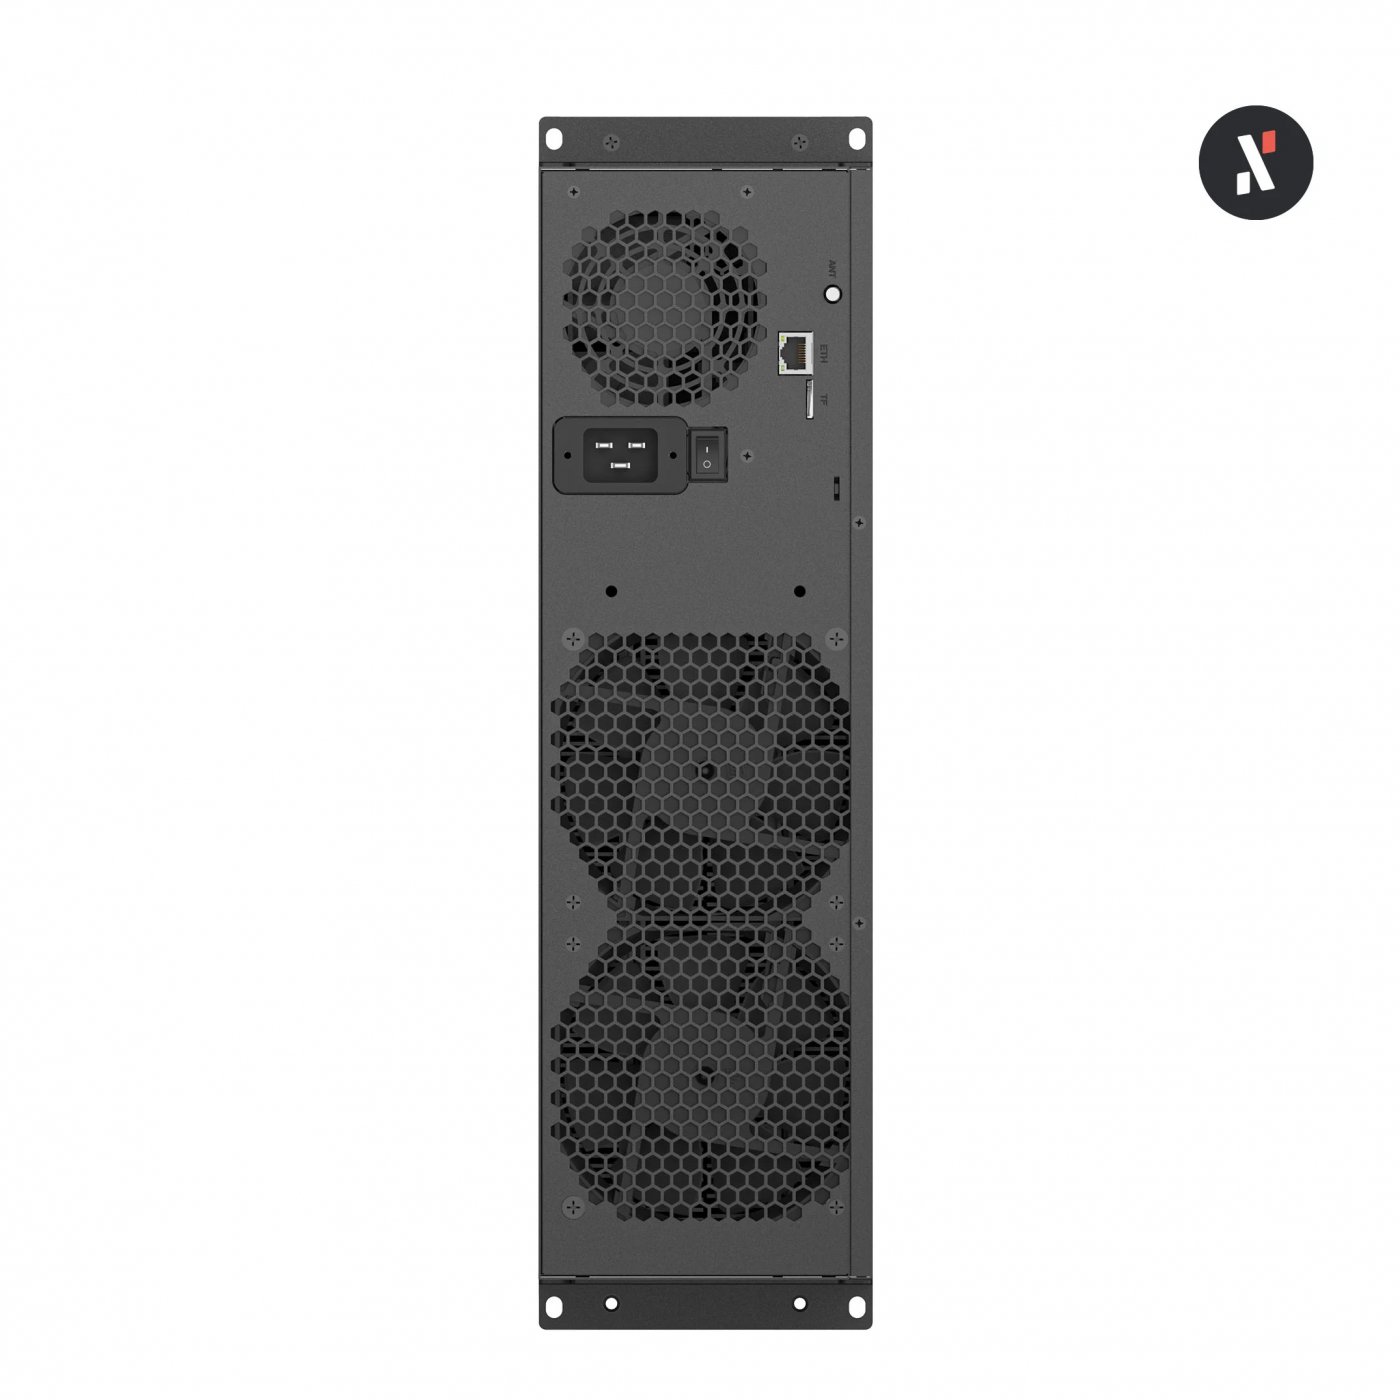
- Cooling System: Dual 3600rpm fans with a noise level of ≤45dB, ensuring quiet operation even under heavy workloads.
- Dimensions: Compact size of 443×360×135mm, making it easy to deploy in various environments.
- Power Supply: Integrated PSU supporting 110V-240V, eliminating the need for external power units.
Step 1: Unboxing and Initial Inspection
Before diving into the setup process, it’s essential to inspect your Goldshell E-AL1M to ensure it arrived in perfect condition. Here’s what to do:
- Check the Packaging: Verify that the box is intact and free from damage.
- Unbox Carefully: Remove the miner and all included accessories, such as the power cord and user manual.
- Inspect the Miner: Look for any visible damage or missing components. If you notice any issues, contact your supplier immediately.
Step 2: Connecting the Power Supply
One of the standout features of the E-AL1M is its integrated power architecture, which simplifies the setup process. Here’s how to connect the power supply:
- Locate the Power Input: On the back of the miner, you’ll find the power input port.
- Connect the Power Cord: Plug the included power cord into the miner and a compatible power outlet. The E-AL1M supports global voltage standards (110V-240V), so you don’t need to worry about voltage compatibility.
- Power On the Miner: Flip the switch to turn on the device. You should hear the fans start spinning, indicating that the miner is receiving power.
Step 3: Connecting to the Network
The E-AL1M features a dual-mode connection port, allowing for flexible network integration. Follow these steps to connect your miner to the internet:
- Ethernet Connection: Use an Ethernet cable to connect the miner to your router or network switch. This is the most stable and reliable option for mining operations.
- Wi-Fi Configuration (Optional): If you prefer a wireless connection, you can configure Wi-Fi settings through the miner’s web interface (more on this later).
Step 4: Accessing the Miner’s Web Interface
To configure and monitor your E-AL1M, you’ll need to access its web-based interface. Here’s how:
- Find the Miner’s IP Address: Use your router’s admin panel or a network scanning tool to locate the IP address assigned to the miner.
- Enter the IP Address in Your Browser: Open a web browser on a device connected to the same network and type in the miner’s IP address.
- Log In: Use the default credentials (usually “admin” for both username and password) to access the interface. Be sure to change the password for security purposes.
Step 5: Configuring Mining Settings
The E-AL1M’s web interface allows you to customize various settings to optimize your mining operation. Here are the key steps:
- Select a Mining Pool: Choose a reliable ALPH mining pool and enter its details (URL, port, and your wallet address) in the miner’s settings.
- Choose a Mining Mode: The E-AL1M offers dual mining modes:
- Default Mode: Delivers maximum hashrate (4.4 TH/s) for increased productivity.
- Low-Power Mode: Reduces power consumption while maintaining a competitive hashrate, ideal for optimizing energy costs.
- Save and Apply Settings: Once you’ve entered all the necessary information, save the settings and start mining.
Step 6: Monitoring and Maintenance
The Goldshell E-AL1M is designed for ease of use, but regular monitoring and maintenance are essential for long-term performance. Here’s what to keep in mind:
- Use the Remote APP: Goldshell’s smart management solution allows you to monitor and control your miner remotely via a mobile app. This is particularly useful for tracking performance and making adjustments on the go.
- Check Cooling Performance: Ensure that the fans are functioning properly and that the miner is operating within the optimal temperature range (0-35°C).
- Clean Regularly: Dust buildup can affect cooling efficiency. Periodically clean the miner’s exterior and vents to maintain optimal airflow.
Product Advantages: Why Choose the Goldshell E-AL1M?
The Goldshell E-AL1M offers several unique advantages that make it a standout choice for ALPH mining:

- Integrated Power Architecture: The built-in PSU eliminates the need for external power units, simplifying setup and reducing costs.
- Advanced Thermal Management: The precision-engineered cooling system ensures stable performance even in challenging environments.
- Smart Management Capabilities: Remote monitoring and control allow you to optimize your mining operation from anywhere.
- Investment Security: With a 180-day warranty and Goldshell’s reputation for reliability, you can mine with confidence.
- Market Opportunity: The E-AL1M is specifically designed for ALPH mining, positioning you to capitalize on the growing potential of this cryptocurrency.
Conclusion
Setting up and configuring the Goldshell E-AL1M is a straightforward process, thanks to its user-friendly design and advanced features. By following the steps outlined in this guide, you can quickly get your miner up and running, optimizing its performance for ALPH cryptocurrency mining. With its exceptional efficiency, robust construction, and flexible configuration options, the E-AL1M is a powerful tool for both experienced miners and newcomers alike.
Whether you’re looking to maximize your hashrate or reduce energy costs, the Goldshell E-AL1M delivers the performance and reliability you need to succeed in the competitive world of cryptocurrency mining. Happy mining!