How to replace components in Innosilicon A11 Pro miner?
How to Replace Components in Innosilicon A11 Pro Miner?
Cryptocurrency mining is a highly competitive and dynamic industry, where efficiency and uptime are critical to profitability. The Innosilicon A11 Pro 1500 Mh/s Ethereum Miner has emerged as a standout choice for EtHash mining, particularly for Ethereum Classic (ETC). Its impressive hashrate, energy efficiency, and modular design make it a favorite among mining operators. However, like all mining hardware, components may require replacement over time due to wear and tear or environmental factors. This article provides a comprehensive guide on how to replace key components in the Innosilicon A11 Pro miner, ensuring minimal downtime and maximum operational efficiency.
Introduction to the Innosilicon A11 Pro Miner
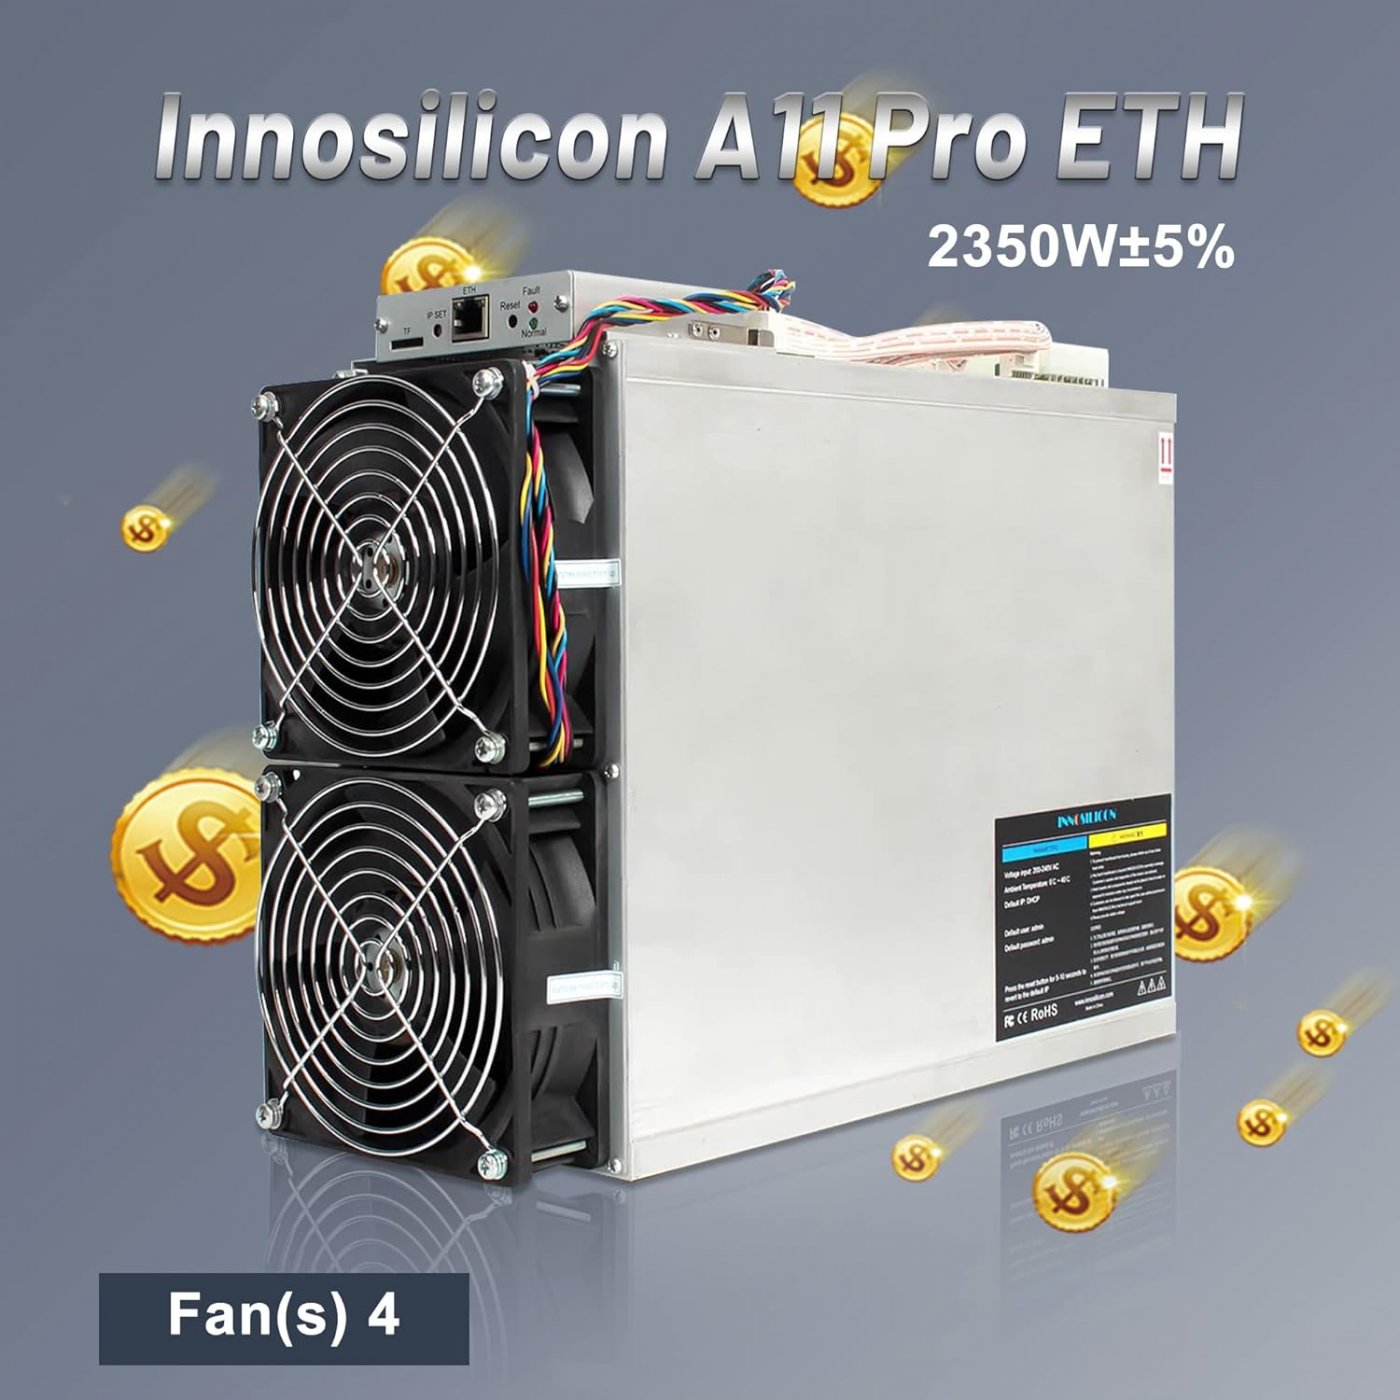
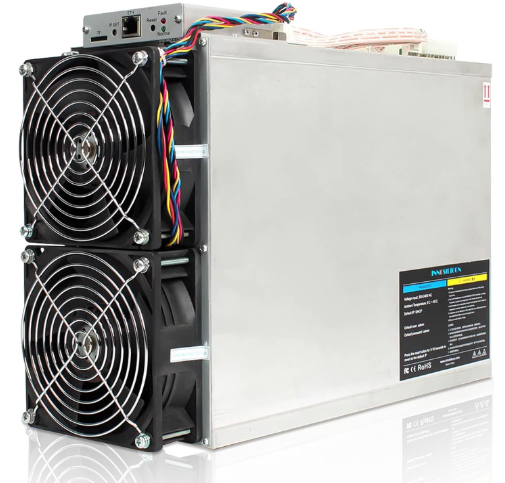
Before diving into component replacement, it’s essential to understand the features that make the A11 Pro a top-tier mining solution. With a hashrate of 1500 Mh/s and an energy efficiency ratio of 1.57 J/Mh, this miner is designed for high-performance ETC mining. Its 8GB memory ensures optimal performance for the EtHash algorithm, while its quad-fan cooling system maintains operational temperatures between 5°C and 45°C, even in challenging environments.
The A11 Pro’s modular design is one of its most significant advantages. It allows operators to easily access and replace components, reducing downtime and extending the miner’s lifespan. Whether you’re replacing fans, power supplies, or other critical parts, understanding the process is crucial for maintaining peak performance.
Advantages of the Innosilicon A11 Pro
The A11 Pro’s design and features translate into several operational benefits:

- Superior Thermal Efficiency: The quad-fan cooling system ensures effective heat dissipation, preventing overheating and maintaining stable performance.
- Maintenance Simplicity: Modular construction allows for easy access to components, making repairs and replacements straightforward.
- Operational Stability: High-quality components and robust thermal management ensure consistent performance in diverse environments.
- Cost-Effective Scaling: The miner’s balance of high hashrate and energy efficiency makes it ideal for both small-scale and large-scale operations.
Step-by-Step Guide to Replacing Components
Replacing components in the Innosilicon A11 Pro miner is a manageable task with the right tools and knowledge. Follow this step-by-step guide to ensure a smooth process.
1. Preparing for Component Replacement
Before starting, ensure you have the following tools and materials:
- Screwdrivers (Phillips and flathead)
- Anti-static wrist strap
- Replacement components (fans, power supply units, etc.)
- Compressed air or a soft brush for cleaning
- Thermal paste (if replacing heat sinks)
Safety First: Always unplug the miner from the power source before performing any maintenance. Use an anti-static wrist strap to prevent damage to sensitive electronic components.
2. Replacing the Cooling Fans
The A11 Pro’s quad-fan cooling system is critical for maintaining optimal operating temperatures. If a fan fails or becomes noisy, it’s essential to replace it promptly.
Steps:
- Remove the Outer Casing: Unscrew the screws securing the outer casing and carefully remove it to access the internal components.
- Identify the Faulty Fan: Visually inspect the fans to identify the one that needs replacement. Check for physical damage or abnormal noise during operation.
- Disconnect the Fan: Gently unplug the fan’s power connector from the motherboard.
- Remove the Fan: Unscrew the mounting screws and carefully remove the faulty fan.
- Install the New Fan: Secure the new fan in place using the mounting screws and reconnect the power connector.
- Test the Fan: Reassemble the miner and power it on to ensure the new fan operates correctly.
3. Replacing the Power Supply Unit (PSU)
The PSU is a critical component that ensures stable power delivery to the miner. If the PSU fails, the miner will not function.
Steps:

- Disconnect Power: Unplug the miner from the power source and disconnect all cables connected to the PSU.
- Remove the PSU: Unscrew the mounting screws securing the PSU and carefully remove it from the miner.
- Install the New PSU: Position the new PSU in place and secure it with the mounting screws. Reconnect all cables to the appropriate connectors.
- Test the PSU: Power on the miner and verify that the new PSU is functioning correctly.
4. Replacing the Control Board
The control board is the brain of the miner, managing its operations and communication. If the miner experiences issues such as failed startups or connectivity problems, the control board may need replacement.
Steps:
- Access the Control Board: Remove the outer casing and locate the control board inside the miner.
- Disconnect Cables: Carefully unplug all cables connected to the control board, taking note of their positions for reassembly.
- Remove the Control Board: Unscrew the mounting screws and gently remove the faulty control board.
- Install the New Control Board: Position the new control board in place and secure it with the mounting screws. Reconnect all cables to their respective connectors.
- Test the Miner: Reassemble the miner and power it on to ensure the new control board is functioning correctly.
5. General Maintenance Tips
Regular maintenance can extend the lifespan of your Innosilicon A11 Pro miner and prevent unexpected downtime.
- Clean Regularly: Use compressed air or a soft brush to remove dust and debris from the miner’s internal components. Accumulated dust can impede airflow and cause overheating.
- Monitor Temperature: Keep an eye on the miner’s operating temperature and ensure the cooling system is functioning correctly.
- Inspect Components: Periodically check fans, cables, and connectors for signs of wear or damage.
- Update Firmware: Ensure the miner’s firmware is up to date to benefit from performance improvements and bug fixes.
Real-World Applications and Benefits
The ability to replace components in the Innosilicon A11 Pro miner offers several real-world advantages:
- Reduced Downtime: Modular design and easy access to components minimize downtime during repairs or replacements.
- Cost Savings: Replacing individual components is more cost-effective than purchasing a new miner.
- Extended Lifespan: Regular maintenance and timely replacements ensure the miner operates efficiently for years.
- Flexibility: Operators can customize their miners by upgrading specific components, such as fans or power supplies, to meet their unique needs.
Conclusion
The Innosilicon A11 Pro 1500 Mh/s Ethereum Miner is a powerful and efficient mining solution designed for long-term operation. Its modular design simplifies component replacement, allowing operators to maintain peak performance with minimal downtime. By following the steps outlined in this guide, you can confidently replace fans, power supplies, control boards, and other critical components, ensuring your miner remains a reliable and profitable asset in your mining operation.
Investing time in regular maintenance and timely component replacement not only extends the miner’s lifespan but also maximizes its efficiency and profitability. Whether you’re a seasoned mining operator or just starting, mastering these maintenance techniques will help you get the most out of your Innosilicon A11 Pro miner.