How to connect Dragonball Miner KS6 Pro+ to a mining pool via Ethernet?
How to Connect Dragonball Miner KS6 Pro+ to a Mining Pool via Ethernet?
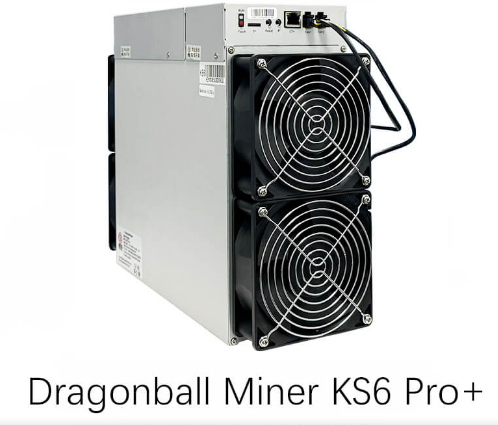
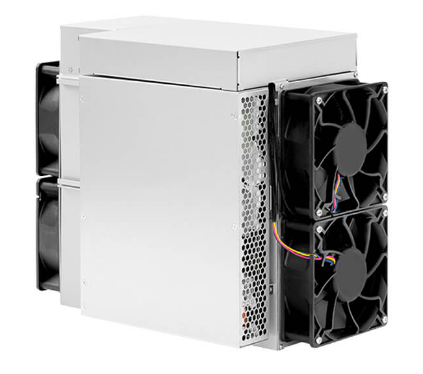
Cryptocurrency mining has evolved into a sophisticated operation requiring advanced hardware and seamless integration with mining pools. The Dragonball Miner KS6 Pro+, a powerhouse in the mining industry, is specifically designed for kHeavyHash and KAS-Kaspa mining operations. With its premium performance, superior hash power, and industry-leading efficiency, the KS6 Pro+ is a top choice for professional miners. However, to unlock its full potential, you need to connect it to a mining pool via Ethernet.
This guide will walk you through the process of setting up your KS6 Pro+ to connect to a mining pool, ensuring you can start mining efficiently and maximize your ROI.
Why Connect to a Mining Pool?
Before diving into the setup process, it’s essential to understand why connecting to a mining pool is crucial. Solo mining, while theoretically rewarding, is often impractical due to the high difficulty levels of modern blockchain networks. Mining pools allow miners to combine their computational resources, increasing the chances of successfully mining blocks and earning rewards. By joining a pool, you gain a more consistent and predictable income stream, making it a smarter choice for most miners.
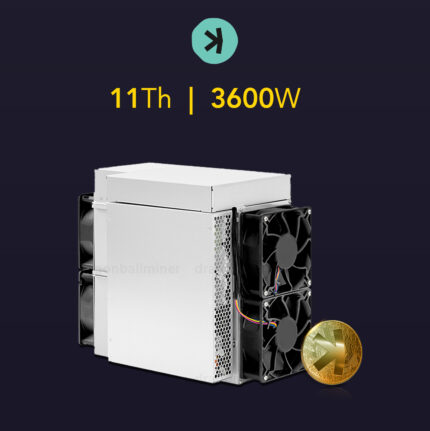
The Dragonball Miner KS6 Pro+, with its exceptional 11 TH/s hashrate and power efficiency of 0.308 J/G, is perfectly suited for pool mining. Its advanced architecture and versatile deployment capabilities ensure it can handle the demands of continuous mining operations.
Step 1: Prepare Your Equipment
To connect your KS6 Pro+ to a mining pool, you’ll need the following:
- Dragonball Miner KS6 Pro+: Ensure the device is powered and ready for setup.
- Ethernet Cable: Use a high-quality RJ45 Ethernet cable for reliable connectivity.
- Network Router: Ensure your router is functioning and connected to the internet.
- Computer or Mobile Device: For accessing the miner’s interface and configuring settings.
- Mining Pool Account: Sign up with a reputable mining pool that supports kHeavyHash or KAS-Kaspa mining.
Step 2: Connect the KS6 Pro+ to Your Network
- Power On the Miner: Plug the KS6 Pro+ into a power source using its PSU. Ensure the input voltage (165-300V) matches your local power supply.
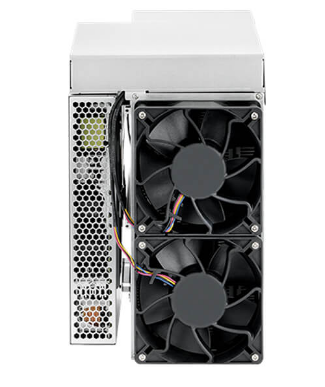
- Connect the Ethernet Cable: Insert one end of the Ethernet cable into the miner’s RJ45 port and the other end into your router or network switch.
- Check Network Connectivity: Wait for the miner to boot up and establish a network connection. The miner’s LED indicators will confirm successful connectivity.
Step 3: Access the Miner’s Interface
- Find the Miner’s IP Address: Use your router’s admin panel or a network scanning tool to locate the IP address assigned to the KS6 Pro+.
- Open the Web Interface: Enter the miner’s IP address into the address bar of your web browser. This will open the miner’s configuration interface.
- Log In: Use the default credentials (usually “admin” for both username and password) to access the dashboard. Be sure to change the password later for security.
Step 4: Configure Mining Pool Settings
- Navigate to the Pool Configuration Section: In the miner’s interface, look for the “Pool Setup” or “Mining Configuration” option.
- Enter Pool Details: Input the following information provided by your mining pool:
- Pool URL: The server address of the mining pool (e.g.,
stratum+tcp://pool.example.com:3333). - Worker Name: Your mining pool account name or worker ID.
- Password: If required, enter the password for your worker (often left blank or set to “x”).
- Save and Apply Settings: Once all details are entered, save the configuration. The miner will automatically restart and begin connecting to the pool.
Step 5: Monitor and Optimize Performance
After successful configuration, your KS6 Pro+ will start mining and submitting shares to the pool. To ensure optimal performance:
- Monitor Hashrate: Check the miner’s dashboard to verify that it’s operating at its full potential (11 TH/s with ±5% variance).
- Track Temperature: The KS6 Pro+ is designed to operate within 0-40°C. Ensure proper ventilation and cooling to maintain efficiency.
- Review Earnings: Log in to your mining pool account to track your earnings and confirm that the miner is contributing effectively.
Advantages of the KS6 Pro+ in Pool Mining
The Dragonball Miner KS6 Pro+ offers several features that make it ideal for mining pool operations:
- Premium Performance: With a hashrate of 11 TH/s and cutting-edge kHeavyHash and KAS-Kaspa algorithms, the KS6 Pro+ delivers unmatched mining efficiency.
- Power Efficiency: The miner’s 0.308 J/G power efficiency ratio ensures lower operational costs, maximizing profitability.
- Versatile Deployment: Its broad voltage support (165-300V) and environmental resilience make it suitable for diverse mining setups.
- Compact Design: The space-efficient form factor allows for easy installation in mining farms or home setups.
- Long-Term Reliability: Backed by a 180-day warranty, the KS6 Pro+ is built for sustained performance in professional mining operations.
Choosing the Right Mining Pool
Selecting a mining pool is a critical decision that can impact your earnings. Consider the following factors:
- Pool Fees: Most pools charge a small fee (1-2%) for their services. Compare fees across pools to find a competitive rate.
- Payout Structure: Look for a pool with a fair and transparent payout method, such as Pay-Per-Share (PPS) or Proportional (PROP).
- Server Location: Choose a pool with servers close to your geographic location to minimize latency.
- Reputation: Opt for a well-established pool with positive reviews and a strong track record of reliability.
Troubleshooting Common Issues
While the KS6 Pro+ is designed for seamless operation, you may encounter occasional challenges:
- Connection Failures: Double-check the pool URL and worker credentials. Ensure your internet connection is stable.
- Overheating: Monitor the miner’s temperature and improve cooling if necessary. The KS6 Pro+ operates best in well-ventilated environments.
- Low Hashrate: Verify that the miner is running at full capacity and that there are no network bottlenecks.
Conclusion
Connecting your Dragonball Miner KS6 Pro+ to a mining pool via Ethernet is a straightforward process that unlocks its full potential. With its premium performance, advanced architecture, and versatile deployment capabilities, the KS6 Pro+ is a powerful tool for professional miners. By following this guide, you can set up your miner efficiently, join a reputable pool, and start earning rewards with confidence.
Whether you’re a seasoned miner or new to the industry, the KS6 Pro+ offers a reliable and profitable solution for kHeavyHash and KAS-Kaspa mining. Take advantage of its superior features and optimize your mining operations today!