How to connect Dragonball Miner KS6 Pro+ to a mining pool?
How to Connect Dragonball Miner KS6 Pro+ to a Mining Pool?
The Dragonball Miner KS6 Pro+ is a cutting-edge cryptocurrency mining machine designed specifically for kHeavyHash and KAS-Kaspa mining operations. With its exceptional hashrate of 11 TH/s and industry-leading power efficiency of 0.308 J/G, this miner is a powerful tool for maximizing your mining profitability. However, to unlock its full potential, you need to connect it to a reliable mining pool. This guide will walk you through the process step by step, ensuring a smooth setup for both beginners and experienced mining operators.
Why Connect to a Mining Pool?
Before diving into the setup process, it’s important to understand why joining a mining pool is essential. Solo mining with a single miner like the KS6 Pro+ can be challenging due to the high difficulty levels of modern blockchain networks. Mining pools allow multiple miners to combine their computational power, increasing the chances of successfully mining blocks and earning rewards. By connecting your KS6 Pro+ to a pool, you can enjoy more consistent payouts and reduce the variability of solo mining.
Preparing Your Dragonball Miner KS6 Pro+
1. Unboxing and Initial Setup
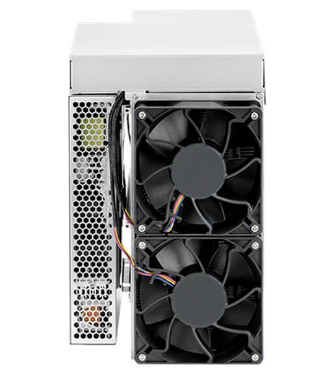
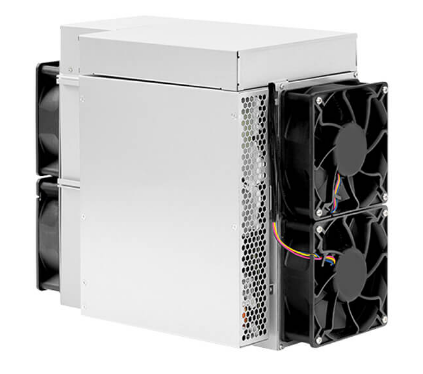
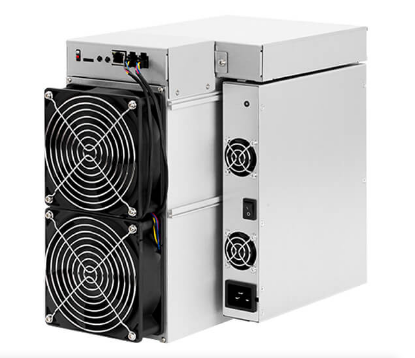
When you first receive your KS6 Pro+, ensure that all components are intact. The miner comes in a compact form factor (360×185×290mm) and weighs 14.5kg, making it relatively easy to handle. Place it in a well-ventilated area with adequate airflow to maintain optimal operating temperatures (0-40°C).

2. Power and Network Connections
Connect the miner to a power source using the provided power cable. The KS6 Pro+ supports a wide input voltage range of 165-300V, making it adaptable to various power infrastructures. Use an Ethernet cable to connect the miner to your local network via the RJ45 port. Ensure your network supports 10/100M compatibility for stable connectivity.
3. Accessing the Miner’s Interface
Once powered on, the KS6 Pro+ will automatically obtain an IP address from your router. To access the miner’s web interface, you’ll need to find its IP address. This can typically be done by checking your router’s connected devices list or using a network scanning tool. Enter the IP address into your web browser to access the miner’s configuration page.
Choosing the Right Mining Pool
Selecting a suitable mining pool is crucial for optimizing your mining operations. Here are some factors to consider:
- Pool Reputation: Choose a well-established pool with a strong track record of reliability and fair payouts.
- Fee Structure: Most pools charge a small fee (usually 1-2%) for their services. Compare fees across different pools to find the best value.
- Server Locations: Opt for a pool with servers close to your geographical location to minimize latency and improve performance.
- Supported Algorithms: Ensure the pool supports the kHeavyHash and KAS-Kaspa algorithms, which are optimized for the KS6 Pro+.
Some popular mining pools for KAS-Kaspa include Kaspa Pool, F2Pool, and MiningPoolStats. Research each pool’s features and choose one that aligns with your mining goals.
Configuring the KS6 Pro+ for Pool Mining
1. Logging into the Miner’s Interface
After accessing the miner’s web interface, you’ll be prompted to log in. The default username and password are usually provided in the user manual. For security reasons, change the default credentials immediately after your first login.
2. Navigating to the Pool Settings
Locate the “Pool Configuration” section in the miner’s interface. Here, you’ll need to enter the details of your chosen mining pool. Most pools provide a “Getting Started” guide with the necessary information.
3. Entering Pool Details
You’ll typically need to input the following details:
- Pool URL: The server address provided by the mining pool (e.g.,
stratum+tcp://pool.kaspa.org:port). - Worker Name: A unique identifier for your miner. This is often formatted as
YourWalletAddress.WorkerName. - Password: Some pools require a password, while others allow it to be left blank.
For example, if you’re using Kaspa Pool, your configuration might look like this: ` URL: stratum+tcp://pool.kaspa.org:5555 Worker: kaspa:yourwalletaddress.worker1 Password: x `
4. Saving and Applying Settings
After entering the pool details, save the settings and restart the miner. The KS6 Pro+ will now connect to the mining pool and begin contributing its hashing power.
Monitoring Your Mining Operations
Once connected, you can monitor your miner’s performance through both the miner’s interface and the mining pool’s dashboard. Key metrics to track include:
- Hashrate: Ensure your miner is operating at or near its advertised 11 TH/s.
- Accepted Shares: This indicates the number of valid solutions your miner has submitted to the pool.
- Temperature: Monitor the miner’s temperature to ensure it stays within the optimal range (0-40°C).
Most mining pools also provide real-time statistics on your earnings, allowing you to track your progress and estimate your ROI.
Troubleshooting Common Issues
1. Miner Not Connecting to the Pool
- Double-check the pool URL and worker details for accuracy.
- Ensure your network connection is stable and the miner has a valid IP address.
- Verify that the pool’s servers are operational by checking their status page or community forums.
2. Low Hashrate
- Ensure the miner is operating in a cool environment with adequate ventilation.
- Check for firmware updates that may improve performance.
- Confirm that your power supply is stable and meets the miner’s requirements (3600W ±10%).
3. High Rejection Rate
- High rejection rates can indicate network latency issues. Try switching to a pool server closer to your location.
- Ensure your miner’s clock settings are synchronized with the pool’s server time.
Maximizing Your KS6 Pro+’s Potential
To get the most out of your Dragonball Miner KS6 Pro+, consider the following tips:
- Optimize Cooling: Use additional fans or cooling systems to maintain low operating temperatures, especially in warmer climates.
- Regular Maintenance: Clean the miner’s fans and vents periodically to prevent dust buildup, which can affect performance.
- Stay Updated: Keep an eye on firmware updates from the manufacturer, as they often include performance improvements and bug fixes.
- Diversify Pools: Consider splitting your hashing power across multiple pools to reduce risk and increase earning consistency.
Conclusion
Connecting your Dragonball Miner KS6 Pro+ to a mining pool is a straightforward process that unlocks its full potential. By following this guide, you can ensure a smooth setup and start earning rewards efficiently. With its advanced mining architecture, superior hash power, and industry-leading efficiency, the KS6 Pro+ is a formidable tool for any cryptocurrency mining operation. Whether you’re a seasoned miner or just starting out, this machine offers a reliable and profitable solution for kHeavyHash and KAS-Kaspa mining. Happy mining!