How to connect WhatsMiner M30S+ to a mining pool?
How to Connect WhatsMiner M30S+ to a Mining Pool?
The WhatsMiner M30S+ is a powerhouse in the world of Bitcoin mining, offering exceptional performance and efficiency. However, to fully harness its potential, it’s crucial to connect it to a mining pool. This guide will walk you through the process step-by-step, ensuring you can maximize your mining returns with ease.
Understanding the WhatsMiner M30S+
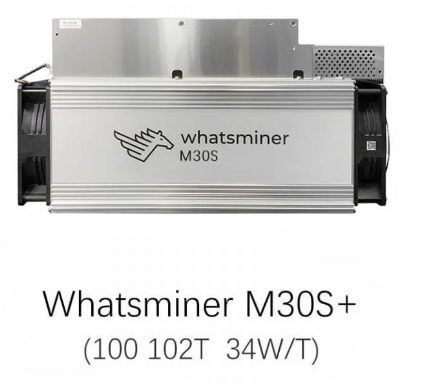
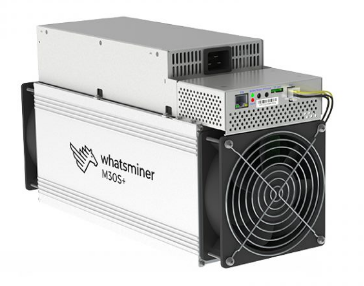
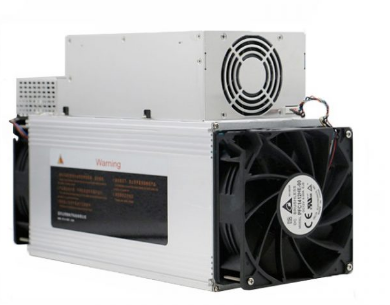
Before diving into the connection process, it’s essential to understand what makes the WhatsMiner M30S+ stand out. This ASIC miner is specifically designed for Bitcoin mining, utilizing the SHA-256 algorithm to deliver a staggering hashrate of 100 TH/s (±5%). Its 12nm chip architecture ensures efficient processing, while its dual-fan cooling system maintains optimal operating temperatures, making it a reliable choice for both novice and experienced miners.
Why Connect to a Mining Pool?
Mining pools allow individual miners to combine their computational resources, increasing the chances of successfully mining a block and earning rewards. By connecting your WhatsMiner M30S+ to a mining pool, you can enjoy more consistent payouts compared to solo mining, especially given the competitive nature of Bitcoin mining today.
Preparing Your WhatsMiner M30S+
1. Unboxing and Setup
- Physical Setup: Place your WhatsMiner M30S+ in a well-ventilated area to ensure proper cooling. The miner’s compact design (425mm x 155mm x 225mm) allows for efficient space utilization.
- Power Connection: Connect the miner to a stable power source using the provided 12V power supply. Ensure your power infrastructure can handle the miner’s power consumption of 3400W (±10%).
2. Network Configuration
- Ethernet Connection: Connect the miner to your network using an Ethernet cable. The M30S+ supports standard Ethernet connectivity, ensuring reliable communication with the mining pool.
- IP Address Assignment: The miner will automatically obtain an IP address via DHCP. To find the miner’s IP, you can use a network scanning tool or check your router’s connected devices list.
Accessing the Miner’s Web Interface
1. Login
- Open a web browser and enter the miner’s IP address in the address bar.
- Use the default login credentials (usually
adminfor both username and password). It’s recommended to change the password after the first login for security purposes.
2. Navigating the Interface
- The web interface provides a comprehensive overview of the miner’s status, including hashrate, temperature, and power consumption.
- Familiarize yourself with the different sections, such as
Miner Configuration,Pool Settings, andSystem Status.
Configuring the Mining Pool
1. Selecting a Mining Pool
- Choose a reputable mining pool that aligns with your mining goals. Popular options include Slush Pool, F2Pool, and Antpool.
- Consider factors such as pool fees, payout methods, and server locations when making your decision.
2. Adding Pool Information
- Navigate to the
Pool Settingssection in the web interface. - Enter the pool’s URL, port number, and your worker credentials. Most pools provide detailed setup instructions on their websites.
- Example configuration for F2Pool:
- URL:
stratum+tcp://btc.f2pool.com:3333 - Worker:
your_username.worker_name - Password:
your_password
3. Setting Pool Priority
- The M30S+ allows you to configure up to three mining pools. Set the primary pool as your preferred choice and configure secondary pools as backups.
- This ensures continuous mining even if the primary pool experiences downtime.
Verifying the Connection
1. Miner Status
- Once the pool information is entered, the miner will attempt to connect to the pool. Check the
System Statussection for connection status. - A successful connection will display the pool’s name, along with the miner’s hashrate and accepted shares.
2. Pool Dashboard
- Log in to your mining pool’s dashboard using your credentials.
- Verify that your miner is active and contributing to the pool’s total hashrate. Most dashboards provide real-time statistics on your mining performance.
Optimizing Your Mining Operation
1. Monitoring Performance
- Regularly monitor your miner’s performance through the web interface and pool dashboard.
- Keep an eye on metrics such as hashrate, rejected shares, and hardware errors to identify potential issues early.
2. Maintenance and Upgrades
- Ensure your miner’s firmware is up to date. Manufacturers often release updates that improve performance and stability.
- Perform routine maintenance, such as cleaning the fans and ensuring proper ventilation, to prolong the miner’s lifespan.
3. Power Management
- Optimize your power usage to reduce operational costs. Consider using energy-efficient power supplies and exploring renewable energy options.
Troubleshooting Common Issues
1. Connection Problems
- If the miner fails to connect to the pool, double-check the pool URL, port number, and worker credentials.
- Ensure your network connection is stable and that there are no firewall restrictions blocking the connection.
2. Hardware Errors
- Hardware errors can impact mining efficiency. Check the miner’s temperature and ensure it’s within the optimal range (-5°C to 40°C).
- If errors persist, consider replacing faulty components or contacting customer support for assistance.
Conclusion
Connecting your WhatsMiner M30S+ to a mining pool is a straightforward process that unlocks the full potential of this powerful ASIC miner. By following the steps outlined in this guide, you can ensure a smooth setup, optimize your mining operation, and enjoy consistent rewards. Remember to stay vigilant in monitoring your miner’s performance and maintaining its hardware to sustain long-term profitability. With the WhatsMiner M30S+, you’re well-equipped to thrive in the competitive world of Bitcoin mining. Happy mining!
