How to connect Dragonball Miner KS6 Pro+ to a mining pool?
How to Connect Dragonball Miner KS6 Pro+ to a Mining Pool?
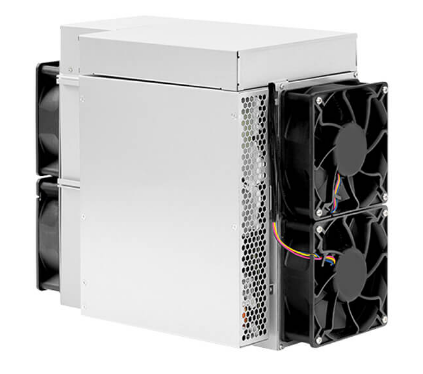
The Dragonball Miner KS6 Pro+ is a powerhouse in the world of cryptocurrency mining, specifically engineered for kHeavyHash and KAS-Kaspa mining operations. With its impressive 11 TH/s hashrate and industry-leading power efficiency of 0.308 J/G, this miner is designed to maximize profitability while minimizing operational costs. However, to fully leverage its capabilities, you need to connect it to a mining pool. This guide will walk you through the process step-by-step, ensuring you can start mining efficiently and effectively.
Understanding the Dragonball Miner KS6 Pro+
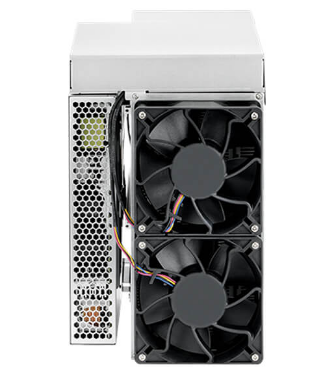
Before diving into the setup process, it’s essential to understand the Dragonball Miner KS6 Pro+ and its features. This miner is built with advanced mining architecture, delivering exceptional performance for specific algorithms like kHeavyHash and KAS-Kaspa. Its compact design, robust thermal management system, and versatile deployment capabilities make it suitable for both small-scale and industrial mining operations.
Key Features of the KS6 Pro+
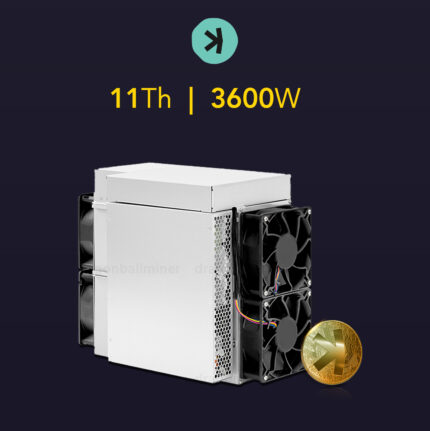
- Hashrate: 11 TH/s with +5% variance
- Power Efficiency: 0.308 J/G (±10%)
- Power Consumption: 3600W (±10%)
- Thermal Range: Operates between 0-40°C
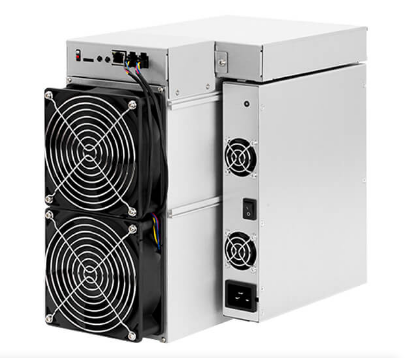
- Connectivity: RJ45 Ethernet port with 10/100M compatibility
With these specs, the KS6 Pro+ is optimized for long-term mining profitability. Now, let’s get it connected to a mining pool.
Step 1: Prepare Your Equipment
Before connecting your Dragonball Miner KS6 Pro+, ensure you have the following:
- Power Supply: The miner requires 3600W of power, so ensure your power supply can handle the load.
- Network Connection: A stable Ethernet connection is essential for reliable mining.
- Mining Pool Account: Choose a mining pool that supports kHeavyHash or KAS-Kaspa mining (e.g., Kaspa Pool, f2pool, or other reputable pools).
- IP Configuration Tool: You’ll need a way to locate and configure the miner’s IP address (more on this later).
Step 2: Set Up Your Mining Pool Account
To mine effectively, you’ll need to join a mining pool. Here’s how to do it:
- Choose a Mining Pool: Select a pool that supports the algorithms compatible with the KS6 Pro+. Look for pools with low fees, reliable uptime, and good user reviews.
- Create an Account: Sign up on the pool’s website and create a worker. A worker is essentially a sub-account that represents your miner.
- Get Your Pool Address: Once your account is set up, the pool will provide a stratum address (e.g.,
stratum+tcp://kaspa.f2pool.com:3333).
For example, if you’re mining Kaspa, you might use a pool like Kaspa Pool or f2pool. Ensure you note down your pool’s stratum address and your worker credentials.
Step 3: Connect and Configure the Miner
Step 3.1: Physical Setup
- Power Connection: Connect the KS6 Pro+ to a compatible power supply. Ensure the voltage input (165-300V) matches your local power infrastructure.
- Network Connection: Use an Ethernet cable to connect the miner to your router or switch.
Step 3.2: Locate the Miner’s IP Address
Once powered on, the miner will automatically obtain an IP address from your network. To find it:
- Log in to your router’s admin panel (usually accessible via a browser at
192.168.1.1or similar). - Look for connected devices and identify the KS6 Pro+ (it may appear as “Dragonball Miner”).
- Note the IP address assigned to the miner.
Alternatively, you can use an IP scanning tool like Advanced IP Scanner to locate the miner on your network.
Step 3.3: Access the Miner’s Web Interface
- Open a web browser and enter the miner’s IP address.
- Log in using the default credentials (usually
adminfor both username and password). - Once logged in, navigate to the Miner Configuration section.
Step 4: Configure the Mining Pool Settings
In the miner’s web interface, you’ll need to input your mining pool details:
- Pool URL: Enter the stratum address provided by your mining pool (e.g.,
stratum+tcp://kaspa.f2pool.com:3333). - Worker Name: Input your worker name (e.g.,
YourPoolAccount.Worker1). - Password: Some pools require a password; if not, you can leave this field blank.
Example Configuration:
- Pool 1 URL:
stratum+tcp://kaspa.f2pool.com:3333 - Worker:
YourPoolAccount.Worker1 - Password:
123
Repeat this process for additional pools (if supported) to ensure redundancy in case one pool goes offline.
Step 5: Save and Start Mining
After entering your pool details:
- Click Save & Apply to update the settings.
- The miner will restart and begin connecting to the pool.
- Monitor the miner’s status in the web interface to ensure it’s hashing at full capacity.
Step 6: Monitor and Optimize
Once your Dragonball Miner KS6 Pro+ is connected to the pool, you can monitor its performance:
- Miner Interface: Check the hashrate, temperature, and fan speed in the miner’s web interface.
- Pool Dashboard: Log in to your mining pool’s website to track your shares, earnings, and overall performance.
- Optimization: If needed, adjust overclocking settings or fan speeds to improve efficiency. However, be cautious not to exceed safe operating limits.
Why Choose the Dragonball Miner KS6 Pro+?
Connecting your miner to a pool is just the first step. The Dragonball Miner KS6 Pro+ offers several advantages that make it stand out:
- Premium Performance: With 11 TH/s and +5% variance, it delivers exceptional mining power.
- Energy Efficiency: At 0.308 J/G, it minimizes power consumption, reducing operational costs.
- Robust Design: Its thermal management system ensures reliable operation in diverse environments.
- ROI-Focused: The combination of high hashrate and efficiency maximizes your return on investment.
Troubleshooting Common Issues
If you encounter problems during setup:
- No Network Connection: Ensure the Ethernet cable is securely connected and check your router’s settings.
- Low Hashrate: Verify that the pool address and worker credentials are correct. Ensure the miner is operating within the recommended temperature range.
- Pool Disconnects: Try switching to a different pool or check your internet connection stability.
Conclusion
Connecting your Dragonball Miner KS6 Pro+ to a mining pool is a straightforward process that unlocks its full potential. By following this guide, you can ensure a smooth setup and optimize your mining operations for maximum profitability. With its advanced architecture, superior efficiency, and robust design, the KS6 Pro+ is a top-tier choice for professional miners and cryptocurrency enthusiasts alike.
Now that your miner is up and running, you’re ready to join the competitive world of cryptocurrency mining and start reaping the rewards. Happy mining!