How to install Dragonball Miner KS6 Pro+ in a mining farm?
How to Install Dragonball Miner KS6 Pro+ in a Mining Farm?
Cryptocurrency mining has evolved into a highly competitive and technical field, requiring advanced equipment and precise operational setups. The Dragonball Miner KS6 Pro+ stands out as a top-tier solution for miners focusing on kHeavyHash and KAS-Kaspa algorithms. With its exceptional performance, energy efficiency, and robust design, this miner is a game-changer for professional mining operations. However, to fully leverage its capabilities, proper installation and setup are critical. In this guide, we’ll walk you through the steps to install the Dragonball Miner KS6 Pro+ in a mining farm, ensuring optimal performance and longevity.
Understanding the Dragonball Miner KS6 Pro+
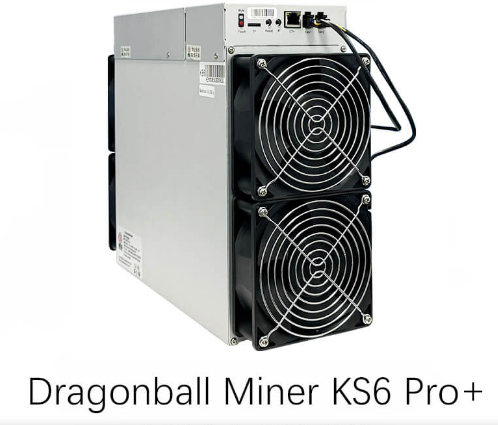
Before diving into the installation process, it’s essential to understand what makes the KS6 Pro+ a standout choice for mining operators. This miner is engineered for high-performance cryptocurrency mining, delivering an impressive 11 TH/s hashrate with a +5% variance, making it one of the most powerful miners in its class. Its power efficiency ratio of 0.308 J/G (±10%) ensures that operational costs remain low while maximizing output.
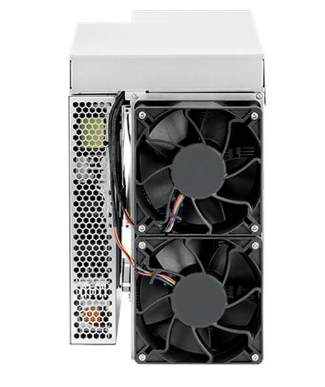
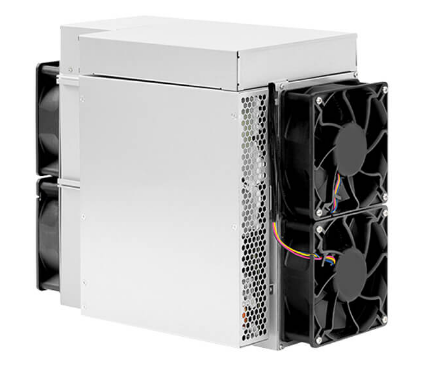
The KS6 Pro+ is designed for versatility, supporting a wide input voltage range of 165-300V and operating effectively in temperatures ranging from 0-40°C. Its compact form factor (360×185×290mm) and manageable weight (14.5kg) make it easy to integrate into existing mining setups. Additionally, its advanced thermal management system ensures reliable operation even under demanding conditions.
Pre-Installation Preparation
1. Assess Your Mining Farm Infrastructure
Before installing the KS6 Pro+, evaluate your mining farm’s infrastructure to ensure compatibility and optimal performance. Key considerations include:
- Power Supply: The miner requires 3600W (±10%) at full load. Ensure your power infrastructure can handle this demand, including sufficient circuit capacity and stable voltage within the supported range (165-300V).
- Cooling System: Given the miner’s power consumption, adequate cooling is crucial. Verify that your farm’s ventilation or cooling system can maintain ambient temperatures within the recommended range (0-40°C).
- Network Connectivity: The KS6 Pro+ uses RJ45 Ethernet for network connectivity. Ensure your farm has reliable internet access and sufficient bandwidth to support multiple miners.
2. Gather Necessary Tools and Equipment
To streamline the installation process, gather the following tools and equipment:
- Screwdrivers and mounting hardware
- Ethernet cables
- Power cables compatible with your farm’s electrical setup
- Anti-static wrist strap (to prevent damage to sensitive components)
- Thermal paste (if additional cooling measures are required)
3. Plan the Physical Layout
Efficient space utilization is critical in mining farms. Plan the placement of the KS6 Pro+ to maximize airflow and minimize heat buildup. Consider using mining racks or shelves to organize multiple units systematically.
Step-by-Step Installation Guide
Step 1: Unbox and Inspect the Miner
Carefully unbox the KS6 Pro+ and inspect it for any visible damage during shipping. Verify that all components, including the power supply unit and Ethernet cable, are included.
Step 2: Mount the Miner
Using the provided mounting hardware, securely install the KS6 Pro+ in your chosen location. Ensure the miner is positioned to allow adequate airflow around its intake and exhaust vents. If using a rack, follow the manufacturer’s guidelines for spacing between units.
Step 3: Connect the Power Supply
Connect the miner to your farm’s power supply using the appropriate cables. Double-check that the voltage matches the miner’s requirements (165-300V). For added safety, use surge protectors or uninterruptible power supplies (UPS) to safeguard against power fluctuations.
Step 4: Establish Network Connectivity
Connect the KS6 Pro+ to your farm’s network using an Ethernet cable. Ensure the connection is secure and test the network to confirm stable internet access. If your farm uses a centralized management system, configure the miner’s IP address accordingly.
Step 5: Configure the Miner
Access the miner’s web interface by entering its IP address into a web browser. Follow the on-screen instructions to configure mining pools, wallet addresses, and other settings. The KS6 Pro+ supports multiple mining pools, allowing you to diversify your mining strategy.
Step 6: Test and Monitor
Once configured, power on the miner and monitor its performance. Use the miner’s interface to check the hashrate, temperature, and power consumption. Ensure that all parameters are within the expected ranges and that the miner is functioning optimally.
Operational Best Practices
1. Optimize Cooling
The KS6 Pro+ generates significant heat during operation. To maintain optimal performance, implement additional cooling measures such as fans, air conditioning, or immersion cooling systems. Regularly clean dust and debris from the miner’s vents to prevent overheating.
2. Monitor Power Consumption
Given the miner’s high power draw, closely monitor your farm’s electricity usage. Consider implementing energy-saving strategies, such as time-of-use pricing or renewable energy sources, to reduce operational costs.
3. Regular Maintenance
Perform routine maintenance to ensure the miner’s longevity. This includes cleaning components, checking connections, and updating firmware as needed. The KS6 Pro+’s 180-day warranty provides added peace of mind, but proactive maintenance can prevent costly downtime.

4. Leverage Advanced Features
Take advantage of the KS6 Pro+’s advanced features, such as its intelligent power management system and versatile deployment capabilities. These features enable you to adapt to changing market conditions and optimize your mining operation’s profitability.
Real-World Applications and Benefits
The Dragonball Miner KS6 Pro+ is ideally suited for both large-scale mining farms and smaller, specialized operations. Its 11 TH/s hashrate and 0.308 J/G efficiency make it a cost-effective solution for maximizing ROI. For example, a mining farm in a region with low electricity costs can significantly boost profitability by deploying multiple KS6 Pro+ units.
Additionally, the miner’s wide voltage support and temperature adaptability make it suitable for deployment in diverse environments, from industrial warehouses to remote locations. This flexibility allows mining operators to expand their operations without being constrained by geographical limitations.
Conclusion
Installing the Dragonball Miner KS6 Pro+ in a mining farm requires careful planning and execution, but the effort is well worth it. By following this guide, you can ensure a smooth installation process and unlock the full potential of this cutting-edge mining solution. With its unparalleled performance, energy efficiency, and robust design, the KS6 Pro+ is poised to become a cornerstone of modern cryptocurrency mining operations. Whether you’re scaling up an existing farm or launching a new venture, the KS6 Pro+ offers the tools you need to stay ahead in the competitive world of crypto mining.